Post-Processing for Underwater Images
Key Takeaways
- Post-processing is essential for enhancing underwater images.
- Adjusting colors and contrast can dramatically improve your photos.
- Use specialized editing software for best results.
- Understanding lighting techniques is crucial for underwater photography.
- Learn to create a consistent editing style for your portfolio.
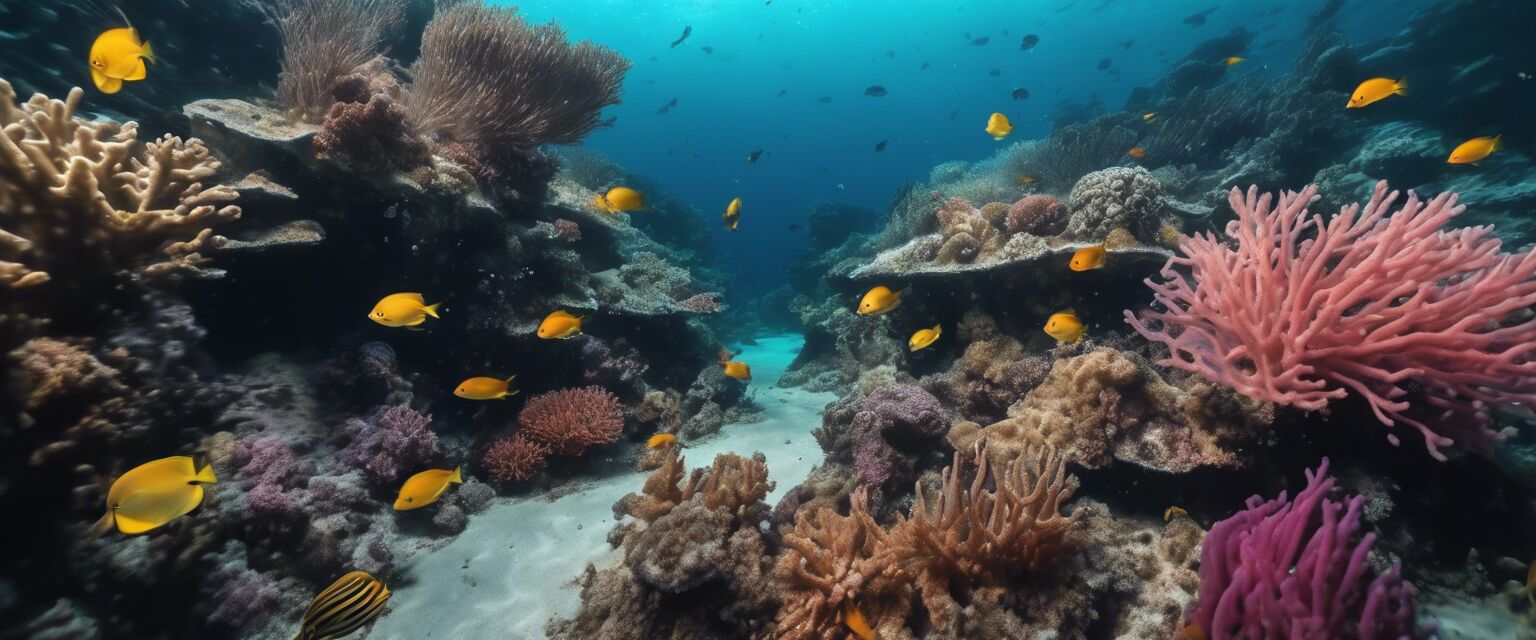
Underwater photography presents unique challenges and opportunities. The underwater environment can distort colors and reduce clarity, making post-processing an essential skill for photographers. In this article, we will explore various techniques for editing underwater photos, ensuring that your images are as stunning as the underwater world they capture.
Understanding the Challenges of Underwater Photography
Before diving into post-processing techniques, itâs important to understand the common challenges faced in underwater photography:
- Color loss due to water absorption
- Reduced visibility and clarity
- Lighting issues caused by depth
- Distortion from water movement
Common Color Issues
Water absorbs light differently at various depths, leading to a loss of vibrancy in your images. This often results in a blue or green tint that can overshadow the true colors of marine life. Here are some typical color loss scenarios:
| Depth (ft) | Color Absorption |
|---|---|
| 0-10 | Red |
| 10-20 | Orange |
| 20-30 | Yellow |
| 30+ | Green/Blue |
Post-Processing Techniques
1. Color Correction
Using editing software, you can correct the color balance of your underwater images. Here are some steps to follow:
- Open your image in editing software.
- Adjust the white balance to neutralize the blue/green tint.
- Enhance the vibrancy to restore lost colors.

2. Enhancing Contrast
Increasing contrast can help make your images pop. Follow these steps:
- Use the contrast slider to enhance the difference between light and dark areas.
- Apply local adjustments for specific areas, like the foreground subject.
3. Noise Reduction
Underwater images can often have noise, especially if taken at higher ISO settings. Hereâs how to reduce it:
- Use the noise reduction feature in your editing software.
- Be cautious not to lose important details while reducing noise.

4. Cropping and Framing
Crop your images to enhance composition. Consider these tips:
- Use the rule of thirds to position your subject.
- Eliminate distracting elements from the frame.
5. Creative Effects
Consider applying creative effects sparingly to enhance the mood of your images:
- Vignetting can draw attention to the center of the image.
- Sharpening can enhance details, particularly in fish scales and coral textures.
Recommended Editing Software
Choosing the right editing software is crucial for effective post-processing. Here are some popular options:
| Software | Platform | Features |
|---|---|---|
| Adobe Lightroom | Windows, Mac | Color correction, noise reduction, organization |
| Adobe Photoshop | Windows, Mac | Advanced editing, layers, retouching |
| Capture One | Windows, Mac | Powerful color grading, tethering |
| GIMP | Windows, Mac, Linux | Free, advanced editing tools |
Building Your Editing Style
As you become more comfortable with post-processing, developing a consistent editing style will help unify your portfolio. Here are tips for building your style:
- Experiment with different techniques until you find what resonates with you.
- Keep a reference folder of images you admire.
- Practice regularly to refine your skills.
Conclusion
Post-processing is a vital part of underwater photography, allowing you to bring out the beauty of marine life and the underwater environment. By mastering techniques like color correction, contrast enhancement, and noise reduction, you can transform your images into captivating works of art.
Tips for Beginners
- Take your time with each photo; post-processing is an art.
- Donât be afraid to experiment with different looks.
- Regularly practice to improve your editing skills.
Pros
- Enhances the visual appeal of underwater images.
- Allows for creative expression through editing.
- Improves overall image quality and clarity.
Cons
- Can be time-consuming for beginners.
- Requires knowledge of software tools.
- Over-editing can lead to unnatural results.
Explore More
For more information on underwater photography, check out these resources: